
Today I wish to share one easy card design with you while creating two delightfully victorian styled birthday cards. I used a combination of two (2) Stampin' Up! sets and the Detailed Floral Die set. You can easily change up the color scheme to what you have on hand and even change up the stamped flower design. I hope this is a starting point for you.
 |
| Both cards using reversed cardstock colords |
 |
| Closeup of card using Very Vanilla as card base and Flirty Flamingo ink and ribbon color |
 |
| Using Soft Suede as card base and Sweet Sugarplum ink and ribbon color |
 |
| Close-up of top portion of card to showcase the coloring and placement of stamped and inked image inside circle punch. |
 |
| Close-up of bottom portion of card so you see the small die cut pieces glued on either side of the saying. - I think the addition of some basic pearls might jazz this card up too! |
Thanks for stopping by and enjoy your week!

Stampin' Up! products used in these two cards:


Tips to recreate the cards:
Cut: 1. Cut your card base (either Soft Suede or Very Vanilla) 11" x 4 1/4"
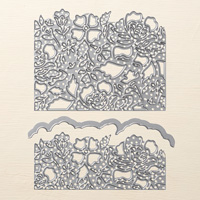
2. Cut your card mat (either Very Vanilla or Soft Suede) 5 1/2" x 4 1/4". You die cut the floral design (I used the Detailed Floral die set),
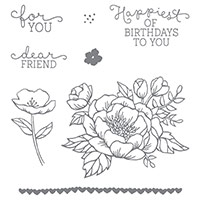
3. Scrap of Very Vanilla cardstock to stamp your flower image (I used the Birthday Blooms set) and then punch out using 1 3/8" circle punch.
4. Scrap of Soft Suede to punch out a 1 1/2" circle.
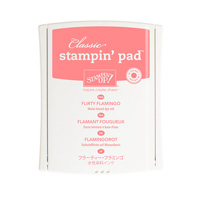
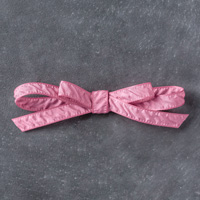
5. Cut a 6" piece of ribbon (I used the 2016/17 Incolor Ribbons in Sweet Sugarplum and/or Flirty Flamingo).
Additional tips:
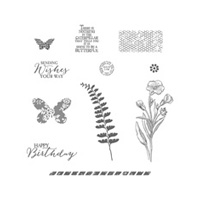
1. Stamp your saying to the bottom right of your cardstock. I used Soft Suede ink in both cards and the saying from Butterfly Basics. (You could also try Versa Mark ink and gold embossing powder for the saying on the Soft Suede card base, especially if you want to get a very glitzy look to the Soft Suede card base!
2. Save some small bits from the die cut floral image to glue around your stamped saying.
3. I colored the flower bloom using the ink from the stamp pad lid and a blender pen. Then, once the image was dry I applied a thin coating of the Fine Tip Glue Pen over the bloom portion of the stamped flower and applied my Dazzling Diamonds glitter - absolutely stunning!
4. I attached my piece of ribbon to the die cut piece and then I glued the die cut piece to my card base using the Multipurpose Liquid Glue.
5. I attached my assembed circle art piece over the ribbon with stampin' dimensionals.!
6. Fininsh the inside of the card with another stamped image of the flower bloom.
7. Don't forget to stamp your envelope too!
Love the colouring of the flower with the glitter!
ReplyDelete