
Go ahead and get a cup of tea and enjoy my post.
I had such a fun time creating this christmas card that I had to give the little owl a name, "Miss Owly". Isn't she cute? The card itself is the easy Z-fold card and I used the layering Ovals dies to create my decorative piece (I think the Stitched Ovals from Stampin' Ups Stitched Layers would look lovely as well).

 |
| Close-up of "Miss Owly" - I forgot to mention I used Wink of Stella around her eyes - you can't see it in the photo but it looks very lovely in real life! |
 |
| Closeup of card opended so you can see the details of where I stamped on the inside panel of card. |
 |
| Picture of the main cardstock pieces cut and folded and embossed. |
 |
| This shows the oval dies cut images as well as the stamped images |
Thank you so much for stopping by and enjoy the rest of your week!
Happy Inky Smiles

Stampin' Up! Supplies I Used:


Tips so you can recreate this card:
Cut:
Cardbase is Basic Gray and cut 11" x 4 1/4"
Inside card: Whisper White and cut 5 3/8" x 4 1/8"
Embossed card front: Pool Party cut 4 1/8" x 2 3/8"
Scraps of Basic Gray (large oval die cut); Pool Party (slightly smaller scalloped oval); Whisper White (slightly smaller oval that has stamped branch); and Smoky Slate (for Miss Owly).
Stamp:
1. Use Basic Gray to stamp the branch from Cozy Critters onto Whisper White. Place the oval die over the stamped branch where you like it and then die cut the oval out.
2. Apply Clear Dazzling Details (or glue and Dazzling Diamonds Glitter) over the stamped branch and set aside to dry.
3. Die cut the scalloped oval in Pool Party and the largest oval in Basic Gray.
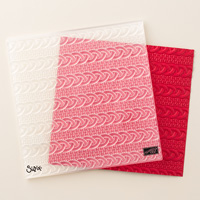
4. Emboss the Pool Party rectangle using the Cable Knit embossing folder (remember to spray the cardstock with water first so you get a deeper impression).
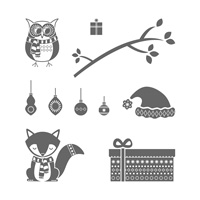
5. Stamp "Miss Owly" onto Smoky Slate cardstock and punch out using the Owl Builder Punch.
6. Stamp "Miss Owly" again onto Whisper White scrap with Basic Gray and color in the beak with the Pumpkin Pie marker and the scarf bands in Rose Red.
7. Cut out the eyes and the scarf and glue to your punched out owl.
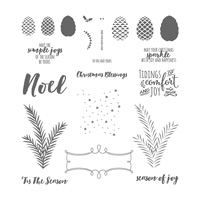
8. Stamp the "snowflakes from the Christmas Pines set onto the inside portion of the card using Pool Party leaving the middle portion clear.
9. Stamp greeting onto center of the inside card in Basic Gray (I used one of the greetings from the Christmas Pines set) or wait until you have glued on your oval stack before stamping your greeting so the greeting stays hidden behind the oval when card is closed.
10. Now you get assemble your card:
- Glue the embossed cable knit Pool Party piece to the folded card front
- Glue your inside piece to the inside of the Basic Gray cardbase
- Glue your white stamped oval to the Pool Party Scalloped oval and then glue to the Basic Gray oval
11. Now dry fit your assembed oval onto your card and gently mark the top and bottom of the oval where it meets the spine of the folded z-fold of the card base. Apply glue only to the portion of the oval that will be attached to the folded/embossed portion of the card (otherwise you will a nice card that is glued shut!
12. Now attach "Miss Owly" to the branch with Stampin' Dimensionals.
13. Last, apply a Rose Red enamble heart to the scarf of "Miss Owly" and two gold (or silver) metallic stars to the greeting.
Whoo-hoo! You are done and can enjoy your card creation!
No comments:
Post a Comment