
Oh! My! Gosh! I don't know what was more exciting: actually attending On Stage Local, seeing all the super display boards full of ideas (my creative brain is whirling), watching all the creative presentations (they were super by the way!), visiting with so many friends (time was too short here), or swapping cards with other wonderful Stampin' Up! Demonstrators! Whooo-hooo!!!!
A huge thank you to all you talented people who put so much work into your swaps! I am so fortunate and grateful to have been able to meet so many of you and trade one creative idea for another. As I wasn't able to share/swap with all of you, and I received several requests, I now present to you my November 2016 On Stage swap card with my supply and re-creation tips below. Enjoy!
 |
| November 2016 Swap card |
 |
| Close-up of stamped details |
Have a wonderful week everyone!
Happy Inky Hugs :)

Stampin' Up! supplies used for my swap card:


Re-creative tips for you:
Cut:
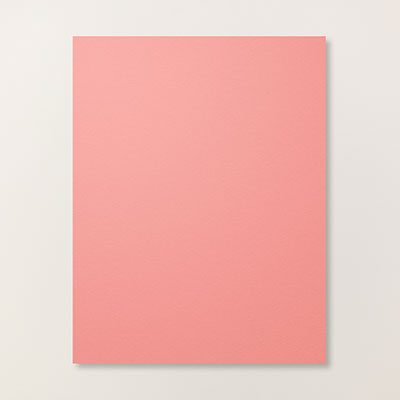
Cardstock base: Flirty Flamingo 8 1/2: x 5 1/2"
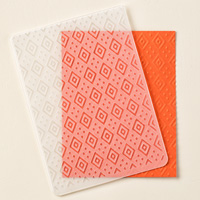
Matting: Whisper White (embossed piece) 5 1/4" x 4"
Basic Black: 4 1/4" x 3"
Flirty Flamingo 4" x 2 3/4"
Art-stamped piece: Whisper White 3 3/4" x 2 1/2"
Create:
1. Fold cardbase in half
2. Emboss Whisper White mat piece using embossing folder of choice (I used Boho Chic)
3. Stamp your design onto the art-stamp piece: use stamp from Word of Art and ink up with Wild Wasabi (Old Olive and Mint Macaron also work well here).
4. Stamp your saying next using Archival Black ink.
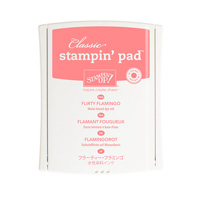
5. Stamp your heart using Flirty Flamingo.
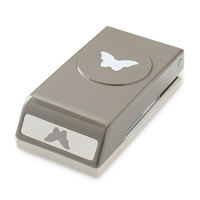
6. Stamp the small butterfly from Papillion Potpourri using Flirty Flamingo ink (I stamped mine right onto my Flirty Flamingo mat and punched out my butterfly - this way I didn't need an extra scrap).
7. Assemble your card piece as shown using either Snail Adhesive or Multipurpose Liquid Glue.
8. Attach your punched butterfly to the art-stamped piece as shown with Multipurpose Liquid Glue (I only applied glue to the center back of the butterfly so the wings could be raised up from the card).
9. Apply your glitter (I used glue and Dazzling Details glittter).
Admire your creation!
Now, cut another Whisper White piece for the inside of the card (5 1/4" x 4") and decorate as you please!
Don't forget to create and decorate a matching envelope!
No comments:
Post a Comment