
Today I have another easy card share for you.
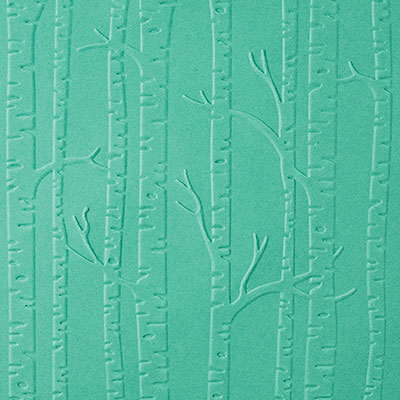
A while back I found a wonderful technique post by a fellow Stampin' Up! Demonstrator, Nancy Ferb, using the Woodlands Textured Impression Embossing Folder and wanted to try it myself. I created the following easel card using Nancy's technique. Thank you Nancy!
Please give this easy technique a try yourself - you will be glad you did!
 |
| Easel card rendition |
 |
| Close-up of greeting holding up the easel portion of the card |

Stampin' Up! Products used:


Tips for you to recreate this card:
Cut:
Cardbase 11" x 4 1/4" and fold in half to create your card base.
Next, fold up one open end of your folded cardbase up to the fold line (this creates the easel part of the card.
Cut another Whisper White Thick card piece to 5 3/8" x 4 1/8"
Cut a card mat in Night of Navy 5 1/2" x 4 1/4" (exactly the size of a card)
Next:
2. Follow Nancy's directions to ink and emboss the Whisper White Thick card piece. I used Pool Party and Night of Navy inks directly from the ink pad, and Soft Suede ink and marker for the detailing on the trees.
2b: Option: add Clear Wink of Stella to the tree trunks once they have been embossed and detailed - they will shine!!!
3. Attach your embossed and inked piece to the Night of Navy mat.
4. Attach your matted piece to your easel-folded card base (you will only glue the top half section of your matted card piece to the top folded half of the cardbase - I know this sounds confusing without extra pictures, but if you work it through you will get it).
5. Now cut a Whisper White Thick cardstock piece measuring 4" x 3/4".
6. Stamp your greeting to this piece.
7. Cut tails on each short end.
7. Mat your stamped greeting to a piece of Night of Navy measuring 4 1/4" x 7/8".
8. Trim the ends to match the tails of the stamped greeting piece.
9. Apply Stampin' Dimensionals to the back of the assembled greeting.
10. Attach your greeting so the top edge is about 1 1/4" up from the back of the card base. This is what holds the card up in easel position but folds flat enough to send in the mail - whoo-hoo!
Admire your beautiful card and quickly make some more to send out - Christmas is almost here!
No comments:
Post a Comment