
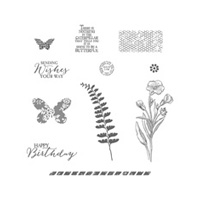
For this lovely card I used Stampin' Up!'s Butterfly Basics stamp set and incorporated the Scallopped Tag Topper Punch, two circle punches, the Bitty Butterfly punch, some ribbon and some of the beautiful Pearl Basic Jewels, which I love! They bring that special little something to anything they are added to! I forgot that the punch I used for the greeting was retired, but I kept it anyways - you can substitute the Classic Label punch, which is a current Stampin' Up! punch.
I hope this card inspires you to also create something wonderful for a special couple! You can easily change out the colors to match the wedding party scheme.
 |
| Card front |
 |
| Close-up so you see the coloring and sponging details |
 |
| Inside of Card |
 |
| Envelope |
Have a wonderful week - I hope you stop by again soon!

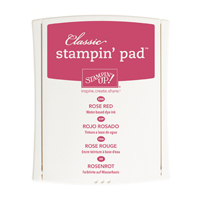
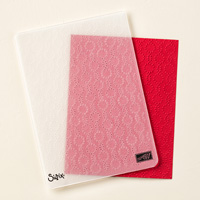
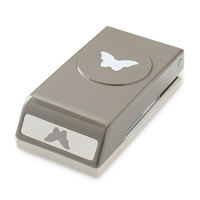
Stampin' Up! Supplies Used:


Tips and Tricks to recreate this card yourself:
Cut:
Crumb Cake cardstock for cardbase: 8 1/2" x 5 1/2"
Crumb Cake mat: 5 1/4" x 4"
Whisper White Thick stamping piece: 4 1/4" x 3" and a scrap piece for greeting and butterfly
Whisper White Thick cardstock for inside of card: 5 1/4" x 4"
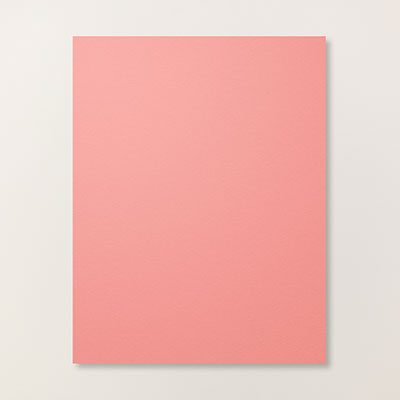
Scrap of Flirty Flamingo for punched 1" circle
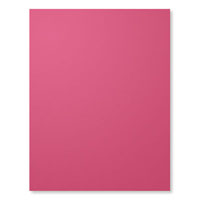
Scrap of Rose Red for punched 1 1/4" circle
Next:
1. Use the Elegant Dots Textured Impressions Embossing Folder to emboss the Crumb Cake piece;
2. Using a sponge and the Crumb Cake Ink, sponge the edges of the embossed matting and then glue to your Crumb Cake cardbase (I glued mine on an angle but you don't have to).
3. Stamp and clear emboss the flower image from the stamp set to your stamping piece by first inking up your stamp with Versamark Ink and then right awat with the Early Expresso Ink. This gives you extra time to cover your stamped piece with the clear embossing powder.
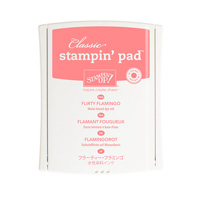
4. Color in your stamped image as desired using inks and blender pen. I used Flirty Flamingo, Rose Red, Wild Wasabi and Crushed Curry ink pads.
5. Trim your colored image down so that it is 2" wide and that a bit of the stamped image "extends past" the right cut line. I used my trimmer to cut up to, but not through, the stamped part of the image and then I used my paper snips to cut around the "extended part" of the stamped image.
6. Punch the top of your 2" stamped strip with the Scalloped Tag Topper punch.
7. Attach a 4" piece of Flirty Flamingo ruched ribbon, and a 4" piece of Very Vanilla 1/4" Satin ribbon to the tag top (see photo for placement) using a small amount of your snail or a mini glue dot to each side of the tag and each ribbon end. This holds the ribbons in place.
8. Stamp greeting of your choice onto a scrap piece of Whisper White Thick using Early Expresso Ink (you can emboss this too if you wish). Punch or cut out greeting as shown in photo.
9. Stamp the butterfly using Flirty Flamingo ink and then punch out using the Bitty Butterfly punch (or just cut out using your paper snips).
10. Punch out a 1" circle from Flirty Flamingo cardstock.
11. Punch out a 1 1/4" circle from the Rose Red cardstock.
12. Glue the 1" circle to 1 1/4" circle offsetting the right-hand side (see photo) and then glue to the backside of the tag.
13. Attach your stamped creation to the cardstock base with Stampin' Dimensionals.
14. Attach your greeting as shown in photo using Multipurse Glue.
15. Attach your butterfly where desired.
16. Apply your Pearl Basic Jewels as shown (or as desired!)
15. Stamp the inside of your card as desired (see photo for ideas).
16. Finish off your card with a matching envelope.
You are finished! Lucky couple who get this hand stamped creation from you!
No comments:
Post a Comment