
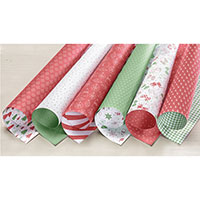
While I was away this past weekend at a crafting retreat, I want to share a card I made with some stamping gals yesterday for National Card Making Day! Thank you, Karen, for choosing the Designer Series Paper and starting the creative process.
 |
| Card front |
You will enjoy making this fun, and fast, card yourself! If you don't have the same Designer Series Paper, just choose one from your stash, add either Whisper White or Very Vanilla Cardstock for your base and a contrasting cardstock for your mat and you are good to go!
 |
| Close-up of card details |
By the way, from one sheet of 12" x 12" Designer Series Paper, you can make eight (8) cards! Whoo-hoo!!!
Enjoy the rest of your week and see you again next time.

Stampin' Up! Supplies Used:


Tips and Tricks to recreate this card:
Cut:
Whisper White Thick cardstock for card base: 11" x 4 1/4" and folded in half to create your card base.
Basic Black cardstock mat: 4 3/8" x 3 1/8"
Designer Series Paper: 4 1/4" x 3"
Scrap of Whisper white to stamp and punch out your greeting using the 1 1/4" circle punch
Scrap of Cherry Cobbler cardstock to punch out a 1 1/2" circle
Next:
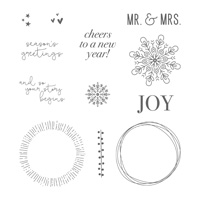
1. Stamp your greeting onto Whisper White cardstock scrap using Cherry Cobbler ink and then punch out using your 1 1/4" circle punch.
2. Punch out a 1 1/2" circle from your scrap of Cherry Cobbler cardstock and glue this to the back of your Whisper White greeting circle.
3. Attach a 5 1/2" piece of the red metallic ribbon to the back of your circle greeting and attach a Stampin' Dimensional over top.
4. Glue your Designer Series Paper piece to your Basic Black cardstock piece and then glue this whole piece to your card base.
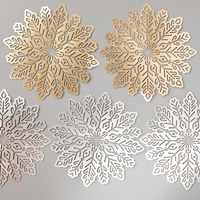
5. Attach the gold or silver metallic snowflake to the card as shown in photo with Stampin' Dimensionals.
6. Now attach your greeting piece over top with another Stampin' Dimensional.
7. Apply some bling (I used one Rhinestone Basic Jewel on the greeting (you can use more but I only and one to play with this time round).
8. Stamp the inside of the card if you wish, as well as your envelope.
9. Sign and date the back of your card.
You are done! You have now created your first Christmas card! Whoo-hoo! So now you can make as many more as you wish. Have fun!
No comments:
Post a Comment